

EntraIDでグループの「動的メンバーシップ」という機能を利用して、AzureADユーザーを作成する際にグループへの振り分けを自動化するということを試してみました。
動的グループの設定はAzure Active Directory Premium P1以上のライセンスで利用可能な機能です。
ユーザー名でグループを振り分ける
今回は「Test_Group」というグループに動的メンバーシップを設定して、ユーザー名に「test」という文字があったらこのグループに追加する設定を入れます。
・Azureポータルから [Microsoft Entra ID]-[グループ] と遷移して [新しいグループ] をクリックします。
![Azureポータルから [AzureAD]-[グループ] と遷移して [新しいグループ] をクリック](https://bonjiri-blog.com/wp-content/uploads/automate-distribution-to-groups-with-dynamic-membership-001-01.png)
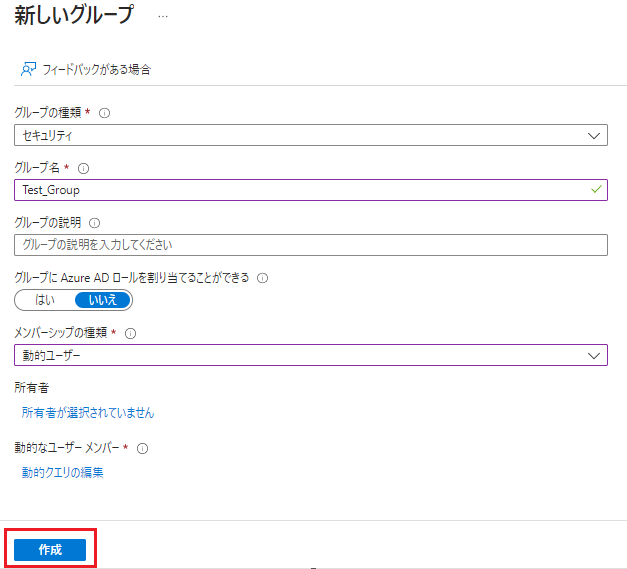
・グループ名を入力して、「メンバーシップの種類」で [動的ユーザー] を選択し、[動的クエリの追加] をクリックします。
![グループ名を入力して、「メンバーシップの種類」で [動的ユーザー] を選択し、[動的クエリの追加] をクリック](https://bonjiri-blog.com/wp-content/uploads/automate-distribution-to-groups-with-dynamic-membership-002.png)
・「プロパティ」と「演算子」と「値」に値を入力し、「保存」をクリックします。
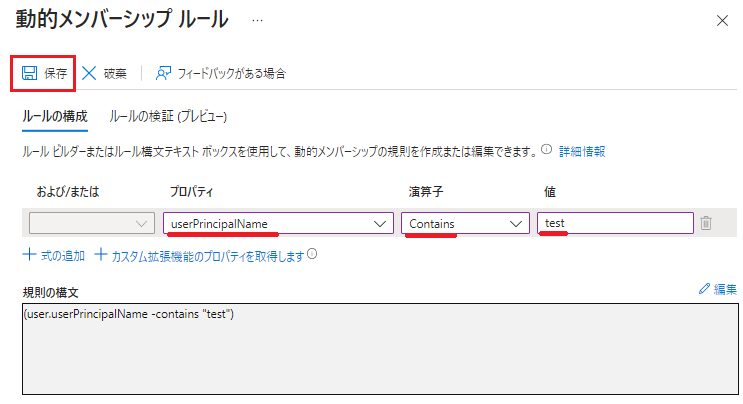
今回はユーザー名(userPrincipalName)に test という文字が含まれて(Contains)いたら という条件を設定します。
・最後に「作成」をクリックします。
これで動的グループの作成は完了です。
ユーザーを作成して確認する
「Testuser001」というユーザーを作成して自動的に振り分けられるかを確認します。
・ユーザーの作成

・グループ内のユーザーの確認
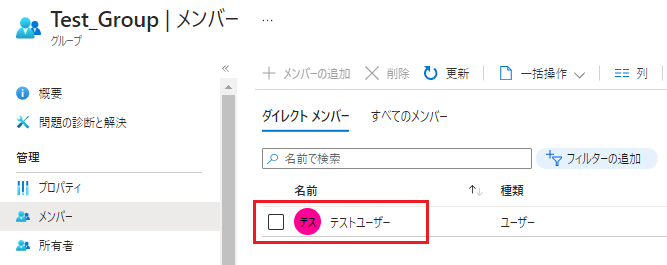
ディスプレイ表示名は「テストユーザー」として作成していたので、正常に振り分けられていることが確認できました。
また、動的グループは手動でのユーザ追加は不可能となっています。