AzureCLIをインストールすると[az vm create] などのazコマンドを利用してAzureを操作することができるようになります。
AzureCLIのほかにもAzurePowershellもありますが、azコマンドのほうが構文が短いのでお勧めです。
この記事ではAzureCLIを自分の端末にインストールする方法をまとめました。
今回はWindows端末でイントールします。
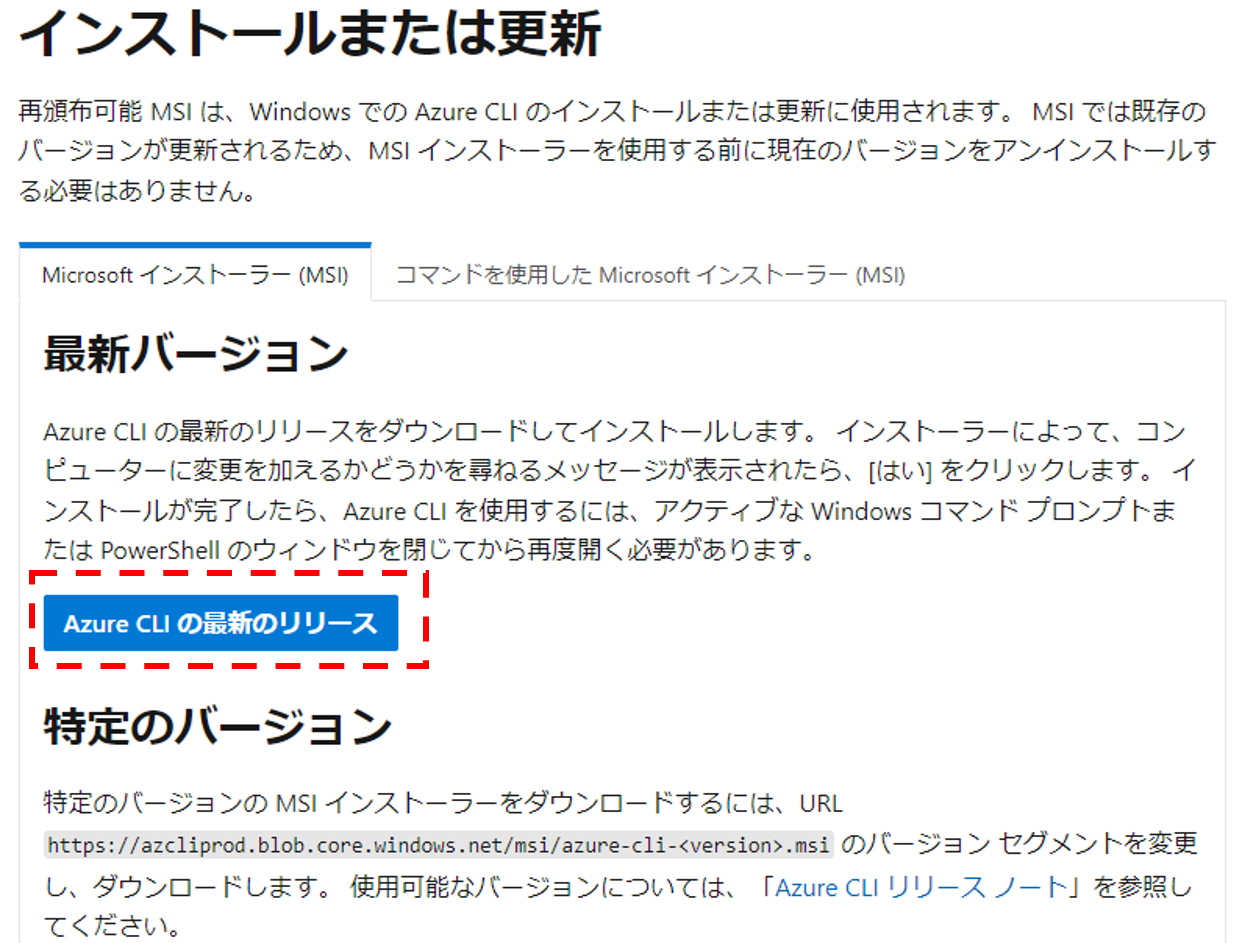
1.AzureCLI のダウンロード手順
以下のMicrosoft公式ドキュメントから、青いボタンの「AzureCLIの最新のリリース」を押してインストーラーをダウンロードします。

2.AzureCLI のインストール手順
ダウンロードが完了したら [azure-cli-xx.xx.xx.msi](今回は[azure-cli-2.32.0.msi]でした)を起動させてインストールしていきます。
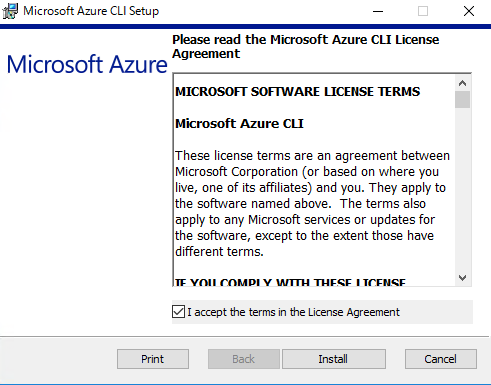
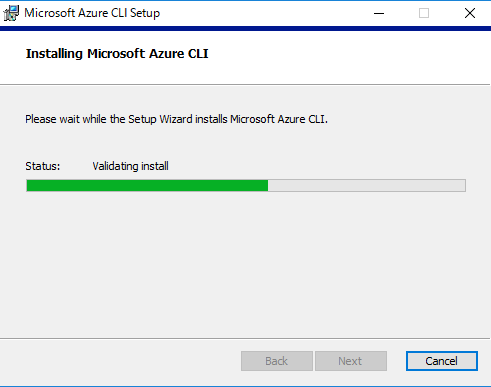
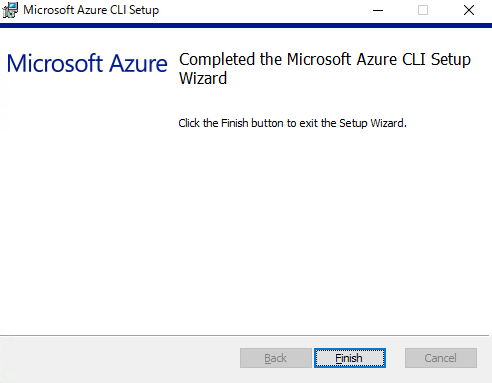
これでAzureCLIのインストールは完了です。
3.azコマンドでバージョン確認手順
インストールが完了したら、azコマンドを利用できるか確認します。
powershellまたは、コマンドプロンプトを開き、[az –version] を入力します。
以下、コマンドプロンプトの実行結果です。
![コマンドプロンプトでの[az --version]入力結果](https://bonjiri-blog.com/wp-content/uploads/cli-install06-1.png)
powershellでも実行できます。
![powershellで[az --version]を入力した結果](https://bonjiri-blog.com/wp-content/uploads/cli-install05-2.png)
4.Azure環境へのログイン手順
最後にAzure環境にログインしてみます。
Azure環境へのログインには [az login] を利用します。
以下、コマンドプロンプトでの実行結果です。
C:\>az login
The default web browser has been opened at https://login.microsoftonline.com/organizations/oauth2/v2.0/authorize. Please continue the login in the web browser. If no web browser is available or if the web browser fails to open, use device code flow with `az login --use-device-code`.
[az login] を実行すると以下の通りブラウザで認証を求められるので、Azureを利用可能なAzureADのユーザもしくはMicrosoftアカウントでサインインします。
![[az login] 入力後にブラウザで表示されるサインイン画面](https://bonjiri-blog.com/wp-content/uploads/cli-install07.png)
ログインが成功するとブラウザでは以下の画面が表示され、

コマンドプロンプト上ではサインインしたサブスクリプションの情報が表示されます。
C:\>az login
The default web browser has been opened at https://login.microsoftonline.com/organizations/oauth2/v2.0/authorize. Please continue the login in the web browser. If no web browser is available or if the web browser fails to open, use device code flow with `az login --use-device-code`.
[
  {
    "cloudName": "AzureCloud",
    "homeTenantId": "xxxxxxxx-xxxx-xxxx-xxxx-xxxxxxxxxxxx",
    "id": "xxxxxxxx-xxxx-xxxx-xxxx-xxxxxxxxxxxx",
    "isDefault": true,
    "managedByTenants": [
      {
        "tenantId": "xxxxxxxx-xxxx-xxxx-xxxx-xxxxxxxxxxxx"
      }
    ],
    "name": "XXXX",
    "state": "Enabled",
    "tenantId": "xxxxxxxx-xxxx-xxxx-xxxx-xxxxxxxxxxxx",
    "user": {
      "name": "xxxxxxxxxx@xxxxxxxxxxxxxxxxx.onmicrosoft.com",
      "type": "user"
    }
  }
]

C:\>
5.サブスクリプションの変更方法
AzureCLI でAzureを操作する際には、1つのサブスクリプションが選択された状態での操作しか対応していません。
なのでもし複数のサブスクリプションを利用している場合にはサブスクリプション切り替える必要があります。
サブスクリプションを変更する方法については以下の記事でまとめているので参考にしてください。

[参考①] ヘルプコマンドの実行
ここからは参考としての情報ですが、AzureCLIでazコマンドのオプションなどが分からなくなったときに利用するヘルプコマンドを紹介します。
azコマンドに慣れないうちは一番利用するコマンドだと思います。
[az -h] を実行する
以下では [az -h] を実行してazに続くコマンドとしてどのようなコマンドがあるのかを確認します。
PS C:\> az -h

Group
    az

Subgroups:
    account                                   : Manage Azure subscription information.
    acr                                       : Manage private registries with Azure Container
                                                Registries.
    ad                                        : Manage Azure Active Directory Graph entities needed
                                                for Role Based Access Control.
    advisor                                   : Manage Azure Advisor.
      ・・・・・[中略]・・・・・
    vm                                        : Manage Linux or Windows virtual machines.
    vmss                                      : Manage groupings of virtual machines in an Azure
                                                Virtual Machine Scale Set (VMSS).
    webapp                                    : Manage web apps.

Commands:
    configure                                 : Manage Azure CLI configuration. This command is
                                                interactive.
    feedback                                  : Send feedback to the Azure CLI Team.
    find                                      : I'm an AI robot, my advice is based on our Azure
                                                documentation as well as the usage patterns of Azure
                                                CLI and Azure ARM users. Using me improves Azure
                                                products and documentation.
    interactive                     [Preview] : Start interactive mode. Installs the
                                                Interactive extension if not installed already.
    login                                     : Log in to Azure.
    logout                                    : Log out to remove access to Azure subscriptions.
    rest                                      : Invoke a custom request.
    upgrade                         [Preview] : Upgrade Azure CLI and extensions.
    version                                   : Show the versions of Azure CLI modules and
                                                extensions in JSON format by default or format
                                                configured by --output.
コマンドの例文の確認も可能
「az vm create」などのリソース作成コマンドの後にヘルプコマンドを利用すると例文も表示してくれます。
ここでは「NSGを作成する際にどのようなオプションが必要となるのか?利用できるのか?」についてヘルプコマンドを利用して調べてみます。
以下の「Examples」部分が例文です。
PS C:\> az network nsg create -h

Command
    az network nsg create : Create a network security group.

Arguments
    --name -n           [Required] : Name of the network security group.
    --resource-group -g [Required] : Name of resource group. You can configure the default group
                                     using `az configure --defaults group=<name>`.
    --location -l                  : Location. Values from: `az account list-locations`. You can
                                     configure the default location using `az configure --defaults
                                     location=<location>`.
    --tags                         : Space-separated tags: key[=value] [key[=value] ...]. Use "" to
                                     clear existing tags.

Global Arguments
    --debug                        : Increase logging verbosity to show all debug logs.
    --help -h                      : Show this help message and exit.
    --only-show-errors             : Only show errors, suppressing warnings.
    --output -o                    : Output format.  Allowed values: json, jsonc, none, table, tsv,
                                     yaml, yamlc.  Default: json.
    --query                        : JMESPath query string. See http://jmespath.org/ for more
                                     information and examples.
    --subscription                 : Name or ID of subscription. You can configure the default
                                     subscription using `az account set -s NAME_OR_ID`.
    --verbose                      : Increase logging verbosity. Use --debug for full debug logs.

Examples
    Create an NSG in a resource group within a region with tags.
        az network nsg create -g MyResourceGroup -n MyNsg --tags super_secure no_80 no_22

To search AI knowledge base for examples, use: az find "az network nsg create"

Please let us know how we are doing: https://aka.ms/azureclihats
PS C:\>
[参考②]AzurePowershellのインストールについて
AzurePowershellのインストールについては以下の記事でも紹介しています。